 How-to
How to Maintain a Solar Power System: A Step-by-Step Checklist
Last Updated: November 10, 2026
Quick Summary
Solar system maintenance means repeating a fixed set of checks: inspect panels for damage and soiling, clean them every six months with deionized water, check wiring and mounting hardware, read inverter fault codes, and maintain the battery bank. Log every reading so slow declines show up early.
- Clean panels about every six months, using deionized water and a soft brush.
- Clean in early morning or evening, when panels are cool, to avoid cracking glass.
- Turn off the system at the disconnects before inspecting connectors and combiner boxes.
- Do not reset a repeating inverter code; check the DC connections and battery voltage first.
- Stop and call a professional for burn marks, arc or ground faults, or water in enclosures.
Table of Contents
- What You'll Need Before You Start
- Step 1: Visually Inspect the Panels for Damage and Soiling
- Step 2: Check Wiring, Connections and Mounting Hardware
- Step 3: Inspect Inverters and Interpret Error Codes
- Step 4: Maintain Your Off-Grid Battery Bank
- Step 5: Use the Right Solar System Inspection Tools
- When to Stop DIY and Call a Professional
- Schedule Your First Maintenance Visit Through Victron Guy
- Frequently Asked Questions
What You'll Need Before You Start
A solar power system maintenance checklist is a repeatable set of inspections and tasks that keeps your array producing close to its rated output, and a good solar system maintenance routine catches problems before they cost you output. Keeping an off-grid system running is easier when you follow a consistent order of checks. Most owners can handle the visual checks and basic cleaning themselves. Electrical testing is a different matter, and we explain where that line falls later in the article, since solar system maintenance involving live wiring should be left to qualified technicians.
Gather these items before you climb onto a roof or open an enclosure:
- A soft-bristle brush and a long-handled squeegee
- Deionized or distilled water, which leaves no mineral spots
- A multimeter rated for DC voltage
- A flashlight and a notepad or phone app for logging readings
- Gloves, eye protection and non-slip footwear
- A monitoring app or display that shows array output and battery state of charge
Keep a simple log. Record the date, the readings and any changes you notice. Over a year, that log will show you slow declines that are easy to miss in day-to-day use.
Step 1: Visually Inspect the Panels for Damage and Soiling
Start with the panels, because they are the part of the system you can see from the ground. Look for cracked glass, discoloration, bubbling of the backsheet and burn marks around cells. Dark spots that do not move when you wipe them can point to hot spots, which are often an early sign of a failing cell. Check the frame and mounting points for bent rails or loose clamps.
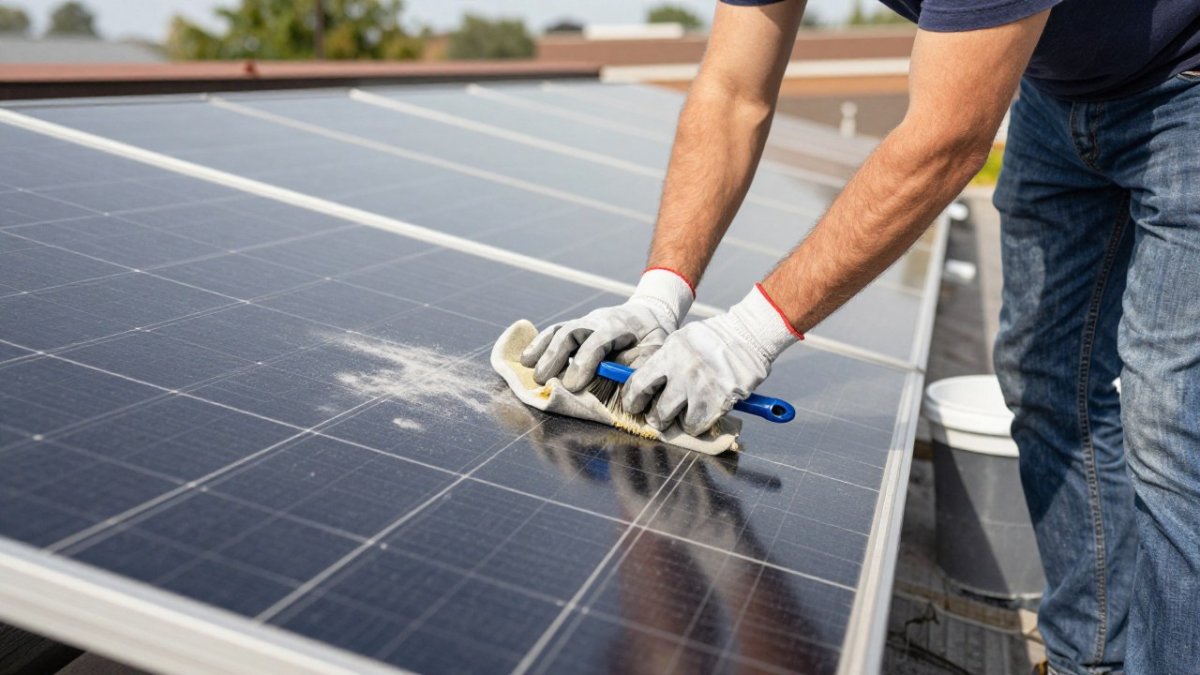
Soiling is the most common cause of lost output. Dust, pollen, bird droppings and leaves block light, and a small patch of shade across one string can reduce output from the whole string. Walk the array on a clear day and note which panels look dirtier than the rest.
Solar Panel Cleaning Frequency and Method
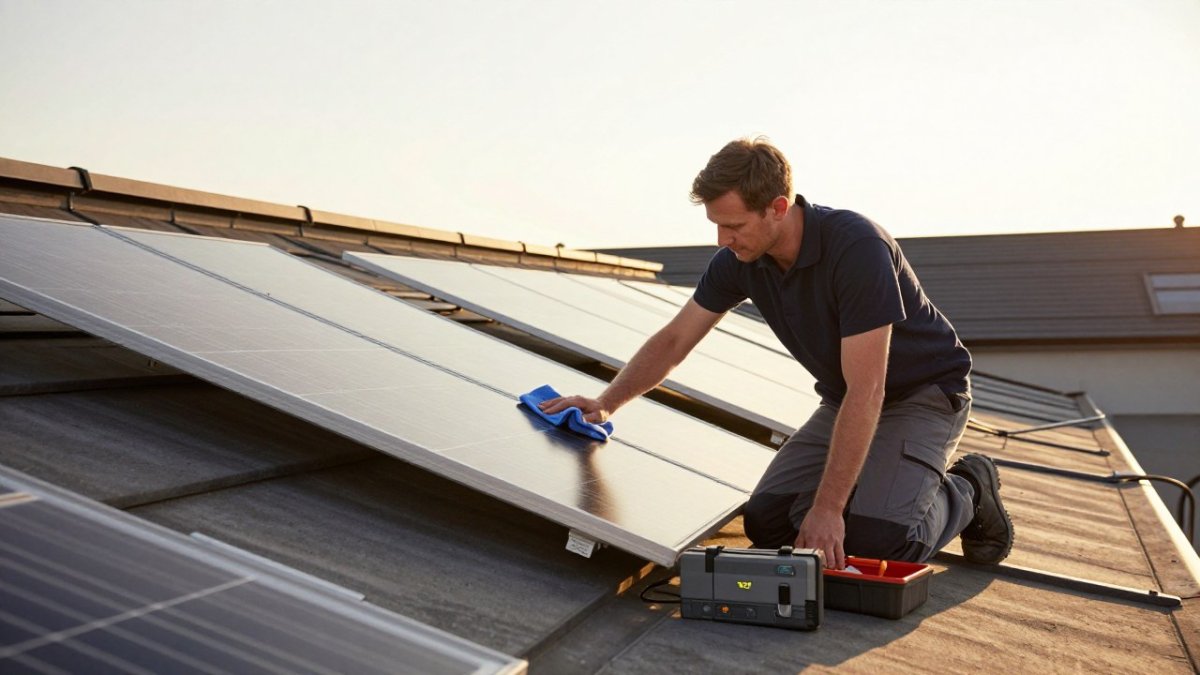
For most systems, cleaning every six months is a sensible baseline, according to ConsumerAffairs solar panel maintenance guidance. Clean more often if you live in a dusty area, near farmland, or under trees that drop sap and seeds, or if your monitoring app shows output falling faster than the weather explains.
Clean in the early morning or evening when the panels are cool. Cold water on hot glass can crack it. Use deionized water and a soft brush, and rinse with a gentle flow. Never use abrasive pads, pressure washers or harsh detergents, because they scratch the anti-reflective coating and can void your warranty.
Watch out: Working on a roof with wet panels is a serious fall hazard. Use a fall-protection harness or hire a professional for any work above ground level.
Step 2: Check Wiring, Connections and Mounting Hardware
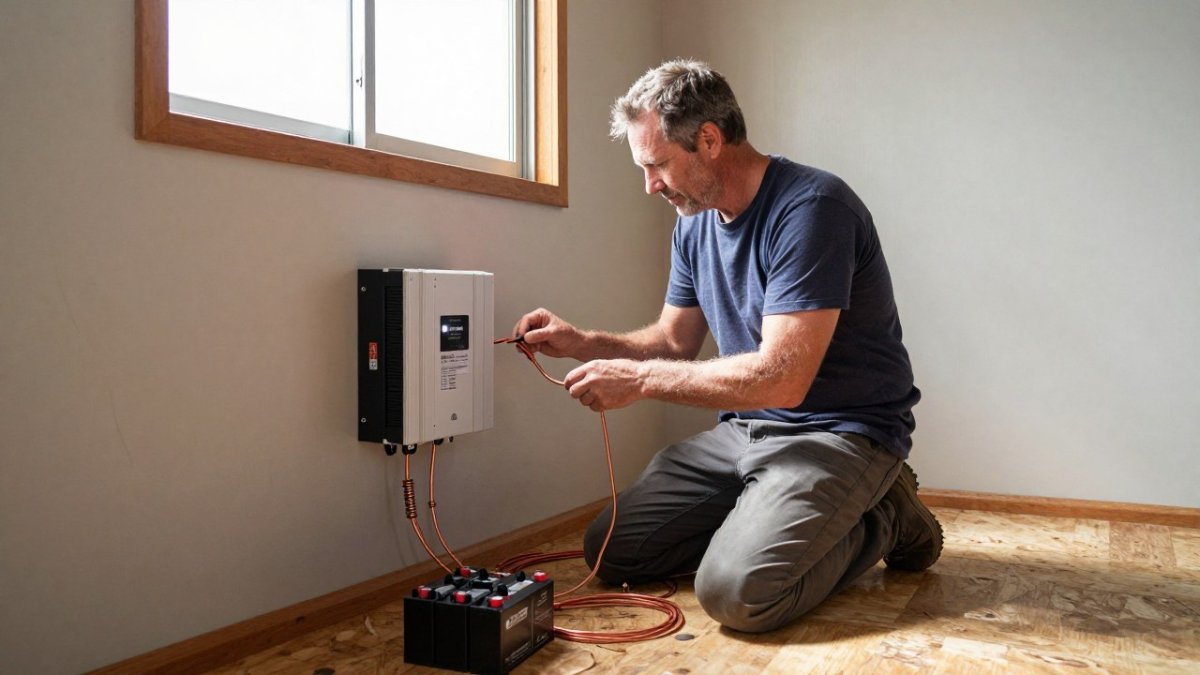
Loose connections create resistance, and resistance creates heat. Turn off the system at the disconnects first, then inspect every MC4 connector, combiner box and terminal block. Look for discoloration, melted insulation or a sharp smell. Gently tug each connector to confirm it is seated.
Check the mounting hardware next. Confirm that bolts are tight, that rails are not cracked and that roof penetrations still seal well. Look for rust on steel brackets and corrosion on aluminum rails. In coastal or high-humidity areas, these checks matter more and should happen at least twice a year.
Measure voltage drop on long cable runs with your multimeter. A drop that grows over time usually means a corroded or loose connection somewhere along the run.
Step 3: Inspect Inverters and Interpret Error Codes
Your inverter is the brain of the system, and it usually reports a problem before anything else does. For a step-by-step method to diagnose off-grid solar faults, see troubleshooting off-grid solar power systems.
Start with a physical pass before you touch the keypad. Confirm the cooling fans spin up when the unit is under load, and clear dust and debris from the vents with compressed air held at least six inches away.
Then read the code. Most manufacturers publish a fault-code table in the installation manual, and the pattern is consistent across brands even when the numbers differ. Group what you see into four families and act accordingly:
- Grid or AC-side faults (undervoltage, overvoltage, frequency out of range, loss of AC). These usually mean the utility side or the AC wiring, not the panels. Confirm the main breaker and any AC disconnect are closed, then check the AC terminal torque. If the fault clears when the grid is stable and returns during brownouts, the inverter is doing its job.
- DC-side faults (PV overvoltage, reverse polarity, ground fault, arc fault). Stop and disconnect. A ground-fault or arc-fault code is a safety event, not a cleaning issue, and it should be diagnosed by a qualified technician with a insulation tester. Do not reset an arc-fault code repeatedly.
- Battery and charge-controller faults (low battery, over-temperature, charge timeout). Confirm the charge settings match your battery chemistry, check battery voltage at rest and under load, and verify the battery temperature sensor is connected. A frozen lithium battery must never be charged, and a charge timeout on a lead-acid bank often means the bank is aging rather than the controller failing.
- Temperature and fan faults. Clean the intake, confirm clearance around the unit, and check that the fan spins freely. If the fault persists after cleaning on a mild day, the fan or thermistor is failing.
Write down each code with the date, time, array output at the moment it appeared, and the battery voltage.
If you have a Victron charge controller showing a fault, our guide on troubleshooting a Victron solar charge controller walks through the exact steps for that device.
The article groups inverter fault codes into four families, each with a first check to run.
| Fault family | Typical codes | First check |
|---|---|---|
| Grid or AC-side | Undervoltage, overvoltage, frequency out of range, loss of AC | Confirm main breaker and AC disconnect are closed; check AC terminal torque |
| DC-side | PV overvoltage, reverse polarity, ground fault, arc fault | Stop and disconnect; ground or arc faults need a qualified technician |
| Battery and charge controller | Low battery, over-temperature, charge timeout | Match charge settings to chemistry; check battery voltage and temperature sensor |
| Temperature and fan | Over-temperature shutdown, fan failure | Clean intake, confirm clearance, check fan spins freely |
Step 4: Maintain Your Off-Grid Battery Bank
Batteries wear out fastest when they are mistreated, so the checks here focus on charging and discharge habits. Confirm that the charge settings match your battery chemistry.
Check the state of charge and the voltage under load. Keep an eye on how deep the system discharges on a typical day. Our overview of lithium battery monitoring systems explains which options track health and charge state well.
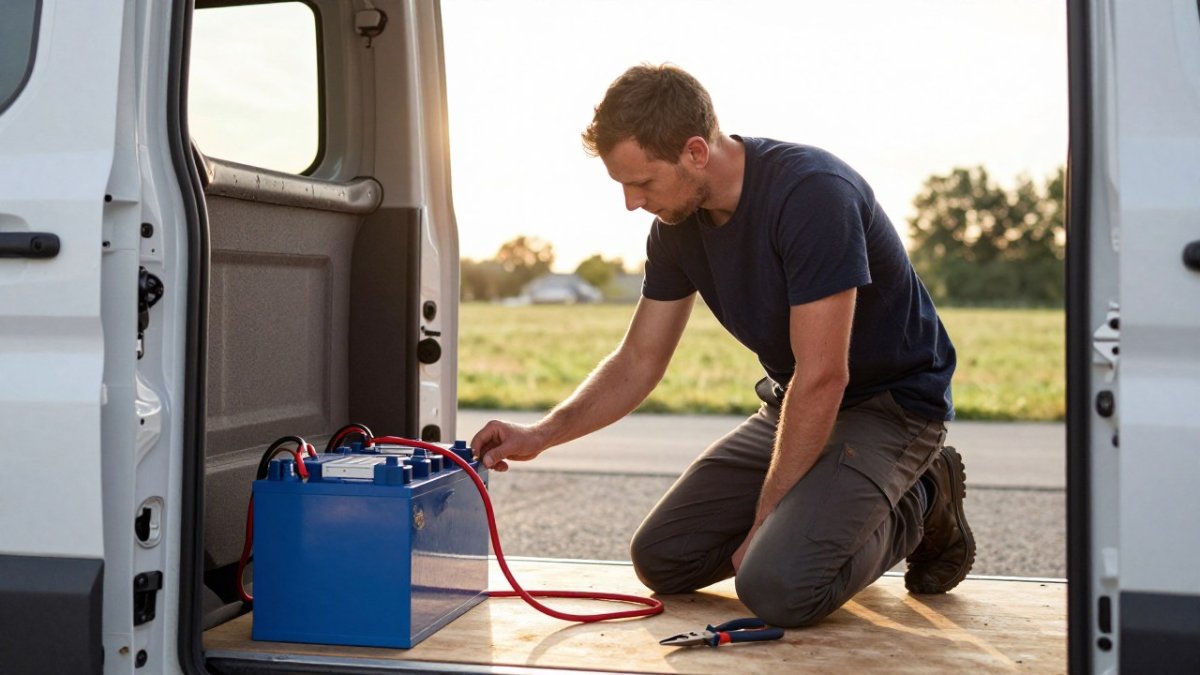
Inspect terminals for corrosion and clean them with a baking soda solution if needed. Confirm that the battery enclosure is ventilated, especially for lead-acid banks, which release gas while charging.
For lithium banks, follow the safety rules that prevent damage during maintenance. Our guide to preventing lithium battery damage covers those rules in detail. The most important one is never to charge a frozen lithium battery.
Step 5: Use the Right Solar System Inspection Tools
The right tools make each check faster and more accurate. A digital multimeter handles voltage, current and continuity checks. An infrared thermometer or thermal camera spots hot connections without opening the enclosure. A clamp meter measures current on a live conductor safely.
Keep a logbook or a spreadsheet for readings, and photograph problem areas so you can compare them at the next inspection. A monitoring system that logs output automatically takes much of the guesswork out of seasonal comparisons.
When to Stop DIY and Call a Professional
Most maintenance on a solar power system is safe for a careful owner. The line is not about difficulty; it is about voltage, height, and anything that can arc, burn, or void a warranty.
Stop and call a professional if any of these are true:
- You see burn marks, melted insulation, scorched terminals, or smell hot electronics. De-energize at the disconnect and do not re-close it.
- An inverter shows a ground-fault, arc-fault, or insulation-resistance fault. These are safety events, and repeated resets can damage equipment or create a fire risk.
- Water is inside any enclosure, combiner box, or disconnect.
- You need to work on the AC side, the main service panel, the grid-tie disconnect, or any conductor above the low-voltage DC threshold. Treat any exposed conductor you have not personally verified as de-energized as live.
- The work requires standing on a roof with a pitch steeper than you can safely walk, wet panels, or a fall edge without a harness anchor. Fall protection is not optional.
- A repair touches a roof penetration and you are not confident in flashing and sealing. A leak you cause is not covered by the panel warranty.
- The system is under a manufacturer or installer workmanship warranty and the repair is not a user-serviceable item. Check the warranty document before you touch it.
Warranty preservation is where most owners get caught. Manufacturers commonly require proof that maintenance was performed and that repairs were done by qualified personnel. Keep a simple maintenance log with the date, the task, the readings, and who performed it.
If you are weighing the cost of a professional visit against doing it yourself, our article on whether professional solar installation is worth the cost can help you decide.
Schedule Your First Maintenance Visit Through Victron Guy
A maintenance checklist works best when you start it early and keep the log current. If you are running a Victron system and want a second set of eyes, Victron Guy is an authorized Victron Energy dealer, and our technical support team can help by phone, text, email or in person. We can walk through error codes, battery settings and wiring questions so your system stays in service on the road or off the grid. Contact us to book your first check, and visit our website for current pricing or to request a quote.
Frequently Asked Questions
How often should a solar power system be serviced?
Most guides recommend cleaning panels about every six months, or sooner if output drops or the panels collect dust, pollen or bird droppings. A full visual and electrical check once a year is a reasonable baseline. Keep a log of each visit with dates, readings and anything you changed, because that record helps with troubleshooting and with warranty claims. Systems in dusty, coastal or heavily wooded areas usually need more frequent attention.
Can I perform solar system maintenance myself or do I need a professional?
Owners can handle basic tasks safely: cleaning panels with deionized water, visually inspecting for cracks and loose hardware, checking monitoring data and clearing debris. Electrical testing, inverter diagnostics and any work inside a battery enclosure carry real shock and arc-flash risk. Use proper PPE, disconnect the array before working on wiring, and bring in a licensed electrician when a test or repair goes beyond a visual check.
What kind of maintenance do solar panels need?
Panels need periodic cleaning, a check for micro-cracks, delamination and hot spots, and confirmation that mounting bolts and racking remain tight. Wiring, connectors and grounding should be inspected for corrosion or heat damage. Inverters need their fans, filters and error logs checked, and battery banks need voltage, state-of-charge and terminal checks. Vegetation that shades the array should be trimmed on the same schedule.
How do I keep my off-grid battery bank healthy between checkups?
Keep batteries within their recommended depth of discharge, avoid leaving them at low state of charge for long periods, and confirm your charge controller settings match the battery chemistry. Check terminals for corrosion and tightness, and log voltage trends so a gradual decline is visible early. Consistent deep cycling or poor charging is the most common reason batteries fail well before their rated life.