 how-to
Troubleshooting Off-Grid Solar Power Systems
Table of Contents
- Start With a Diagnostic Flowchart for Off-Grid Solar System Troubleshooting
- Diagnose Low or No Power Output in Your Off-Grid Solar System
- Off-Grid Solar Battery Not Charging: Battery Bank Diagnostics
- Solar Charge Controller Troubleshooting: Settings and Faults
- Off-Grid Inverter Troubleshooting: Beeping, Shutdowns, and Load Issues
- Test Wiring, Connections, Fuses, and Breakers
- Off-Grid Solar System Troubleshooting Checklist and Maintenance Record
- When to Stop Troubleshooting and Call for Professional Help
- Frequently Asked Questions
Last Updated: October 11, 2026
Start With a Diagnostic Flowchart for Off-Grid Solar System Troubleshooting
Troubleshooting off-grid solar power systems starts with a clear diagnostic process. A flowchart helps you narrow down the problem quickly.
Start by asking: Do you have any power at all? If no, check your battery bank voltage. If weak, check for inverter beeping or fault codes. If none, check solar array output. This logical path saves time by eliminating random testing:
- Check battery voltage first (tells you if the battery bank has power)
- Listen for inverter alarms or check LED status lights
- Measure DC voltage at the solar array
- Inspect visible wiring and connections for damage
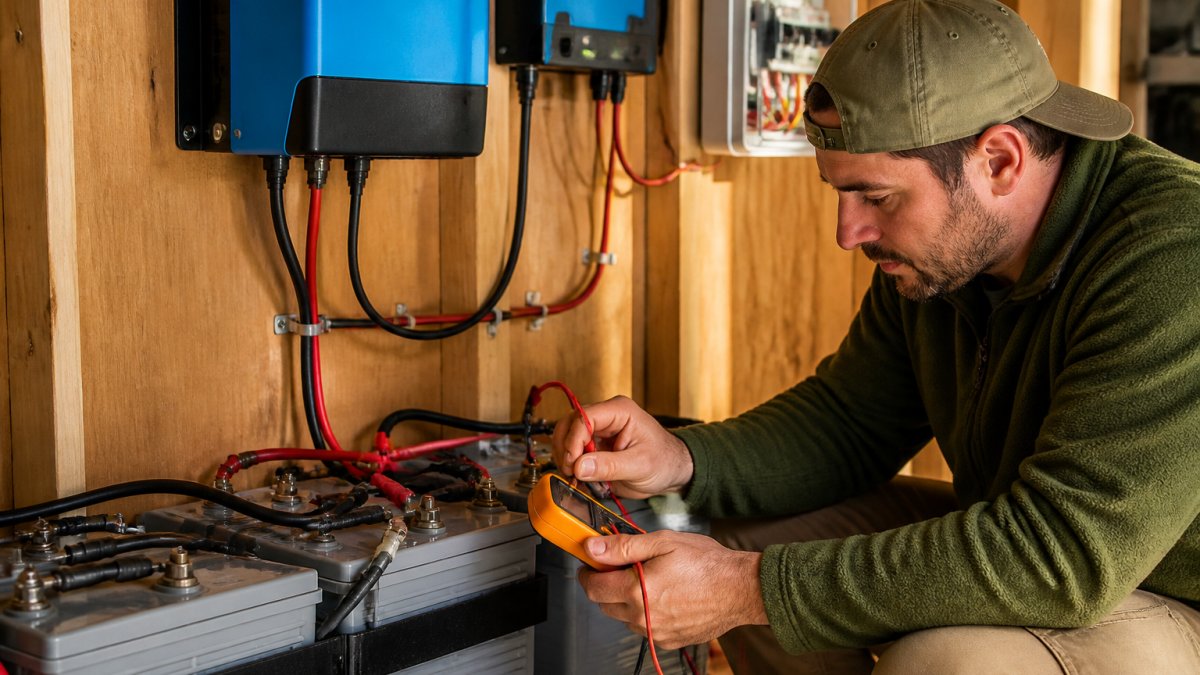
- Test individual components with a multimeter
- Check charge controller settings and fault codes
Most system failures fall into five categories: battery issues, inverter problems, charge controller faults, wiring damage, or low solar output. Once you identify which category fits your symptoms, the fix becomes straightforward.
Diagnose Low or No Power Output in Your Off-Grid Solar System
Low or no power output usually points to three culprits: the solar array isn't producing, the charge controller isn't accepting power, or the battery bank is full. Measure what's happening at each stage.
Check for Shading, Dirt, Damage, and Panel Obstructions
Shading is the most common reason for low solar output. Even partial shade on one panel reduces the entire array's output significantly.
Dirt and debris reduce output.
Panel damage shows as cracks, discoloration, or physical breaks. Small cracks reduce efficiency; larger cracks or missing pieces require replacement. Document damage with photos.
Check for loose mounting hardware. Walk around the array and gently try to move each panel, they should be completely rigid.
Measure DC Voltage at the Array and Controller Input
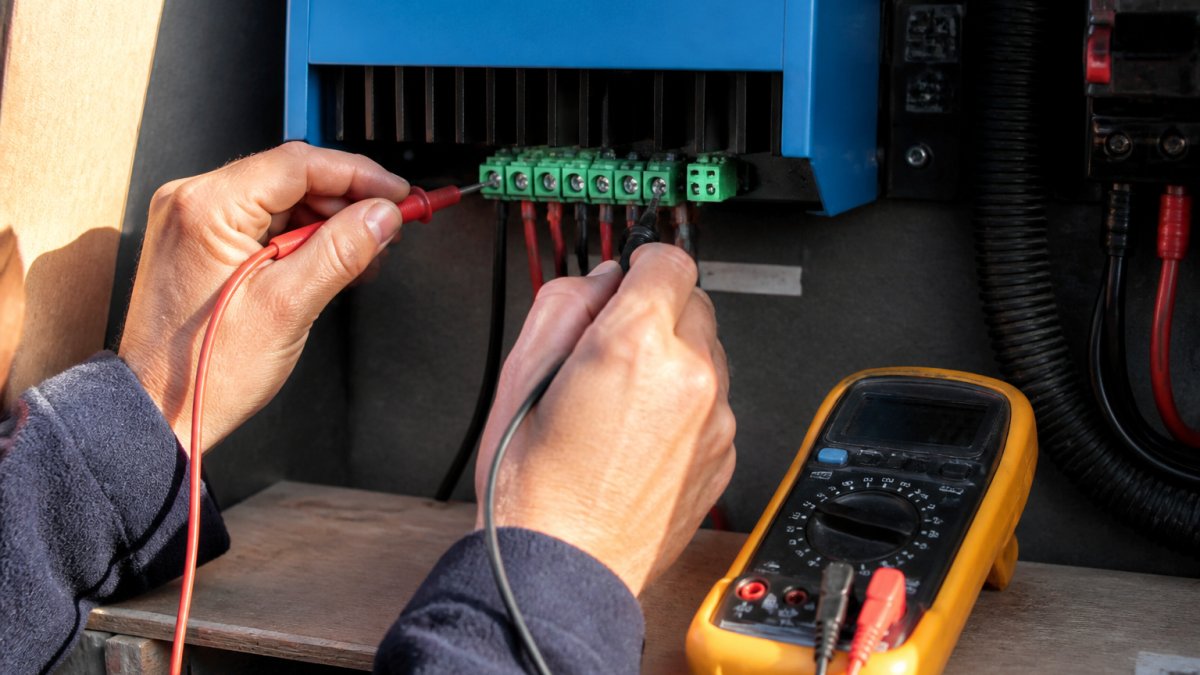
Use a multimeter set to DC voltage mode to measure array output. Touch the red probe to positive and black to negative at the array output. A healthy 48V array in daylight shows 45-55V.
Measure voltage at the charge controller's input terminals and compare to array voltage. If they differ significantly, you have a wiring problem, loose connections, damaged cables, or corroded terminals. If array voltage is good but controller input is low, focus on the wiring between them.
Off-Grid Solar Battery Not Charging: Battery Bank Diagnostics
When your battery bank won't charge, the charge controller may be blocking charge for safety reasons, or the battery itself may have a fault.
Check State of Charge and Voltage by Battery Chemistry
State of charge varies by chemistry: lead-acid reads around 12.6V when fully charged at rest; lithium reads around 13.3V or higher. Knowing your battery type helps you interpret voltage readings correctly.
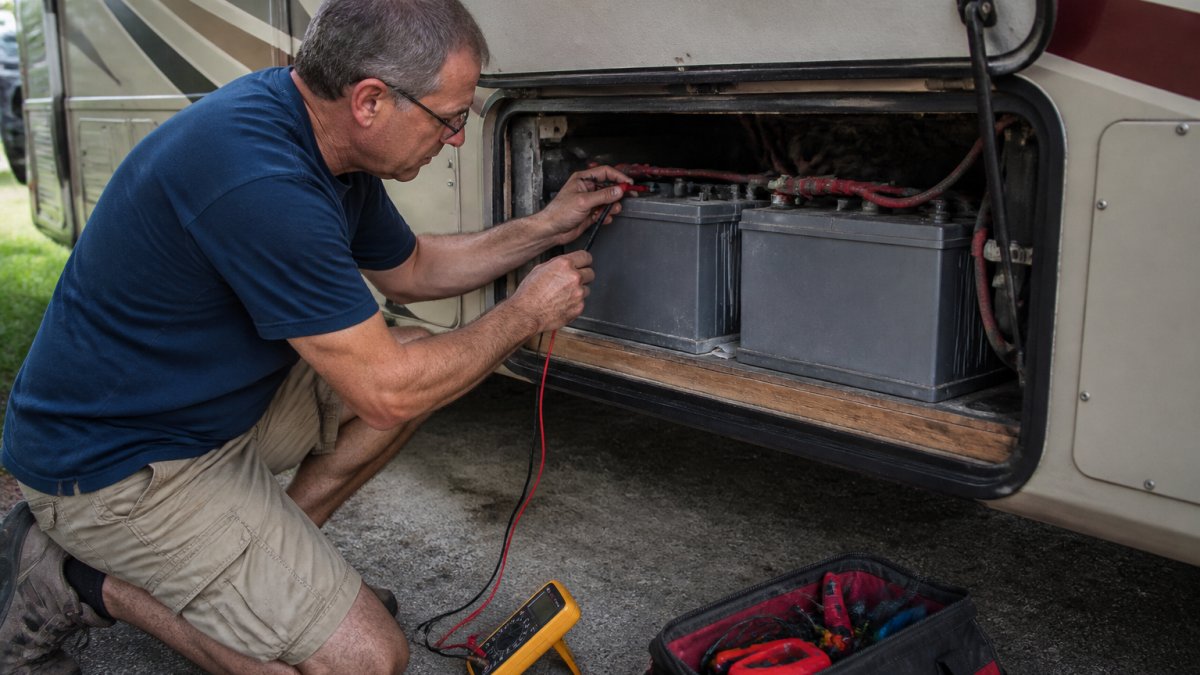
Measure battery voltage with a multimeter after letting it rest 15 minutes. Lead-acid below 12V is deeply discharged and needs slow recharging.
A 48V lithium bank should read 48-55V when full; a 24V lead-acid bank should read 25.2-26V. Significantly lower readings indicate partial discharge or damage.
Inspect Battery Terminals and Wiring Connections
Loose or corroded battery terminals stop charging instantly. Terminals should be clean, shiny metal. If corroded (white, blue, or green buildup), disconnect cables and clean with a wire brush or fine sandpaper, then reconnect firmly.
Check cables for cuts, melted insulation, or exposed copper wire. Damaged cables must be replaced; verify gauge matches system specs. Tighten terminal bolts snugly, loose connections create dangerous heat.
Solar Charge Controller Troubleshooting: Settings and Faults
The charge controller regulates current flow from the array to the battery. When it malfunctions, charging stops or behaves unpredictably.
Read Status Lights and Fault Codes
LED status lights indicate operation: green means normal; red or orange means a fault. Consult your manual to decode lights and fault codes. Common faults include overvoltage, overcurrent, overtemperature, or low battery voltage. If beeping, write down the pattern and check the manual for its meaning.
If the controller is completely dark, check wiring to the battery and measure voltage at the controller's battery input terminals. If voltage is present but the controller is still dark, it may be faulty and need replacement.
Verify Voltage and Current Measurements
Measure voltage at the controller's battery output terminals, it should match battery voltage when not charging. If significantly lower, there's a wiring problem or internal fault. Measure current with a clamp meter if your controller doesn't display it. Zero current on a sunny day indicates the controller isn't sending power; check settings or fault codes.
Off-Grid Inverter Troubleshooting: Beeping, Shutdowns, and Load Issues
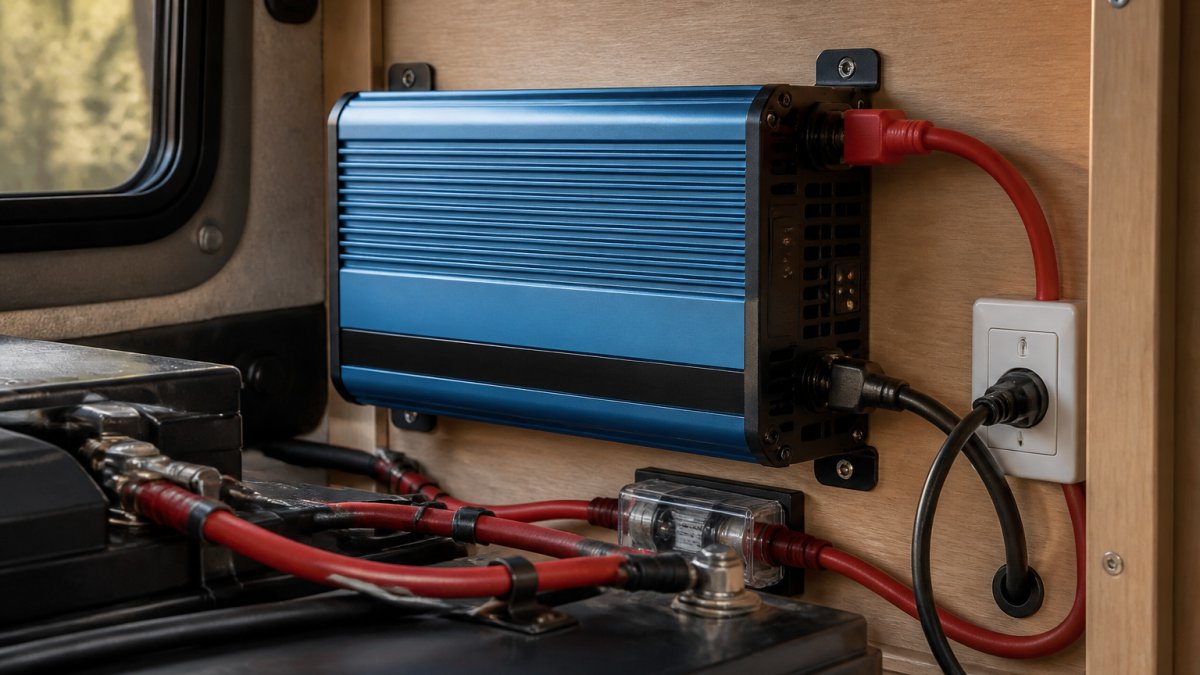
The inverter converts DC power to AC power for your appliances. When it fails, you lose AC power even if your battery is full.
Decode Alarm Sounds and LED Status Indicators
Inverter alarms indicate different problems: steady beep means low battery voltage; rapid beeping indicates overload or overtemperature; single beep per second signals a fault code. Check the display panel for fault codes and look them up in the manual.
If the inverter is completely silent and dark, check DC wiring between battery and inverter. Measure voltage at the inverter's input terminals. If voltage is present but the inverter is still dead, it may need a reset or replacement.
Check AC Load and Surge Capacity
Overload is a common shutdown cause. Add up appliance wattages from nameplates or manuals. If the total exceeds your inverter's continuous rating, run fewer appliances at once or upgrade. Surge capacity is the power spike when appliances start, refrigerators, air conditioners, and power tools draw 2-3 times their running power during startup. Start high-load devices one at a time to keep surge within limits.
Test Wiring, Connections, Fuses, and Breakers
Wiring problems are silent killers in off-grid systems. A loose connection or damaged cable stops power flow without any warning lights or alarms.
Inspect for Loose Connections and Damaged Cables
Walk through your entire system and visually inspect every cable. Look for:
- Exposed copper wire (insulation damage)
- Melted or discolored insulation (heat damage)
- Cables pinched or crushed by mounting hardware
- Corrosion on connectors or terminals
- Cables that move or flex when you tug on them
Any of these problems reduces current flow or creates dangerous heat. Damaged cables must be replaced. Loose connections must be tightened.
Check the cable gauge. Undersized cables create resistance and heat. A 48V system with a 100-amp battery bank needs at least 2/0 AWG cable from the battery to the inverter.
Check Fuses, Breakers, and Switch Status
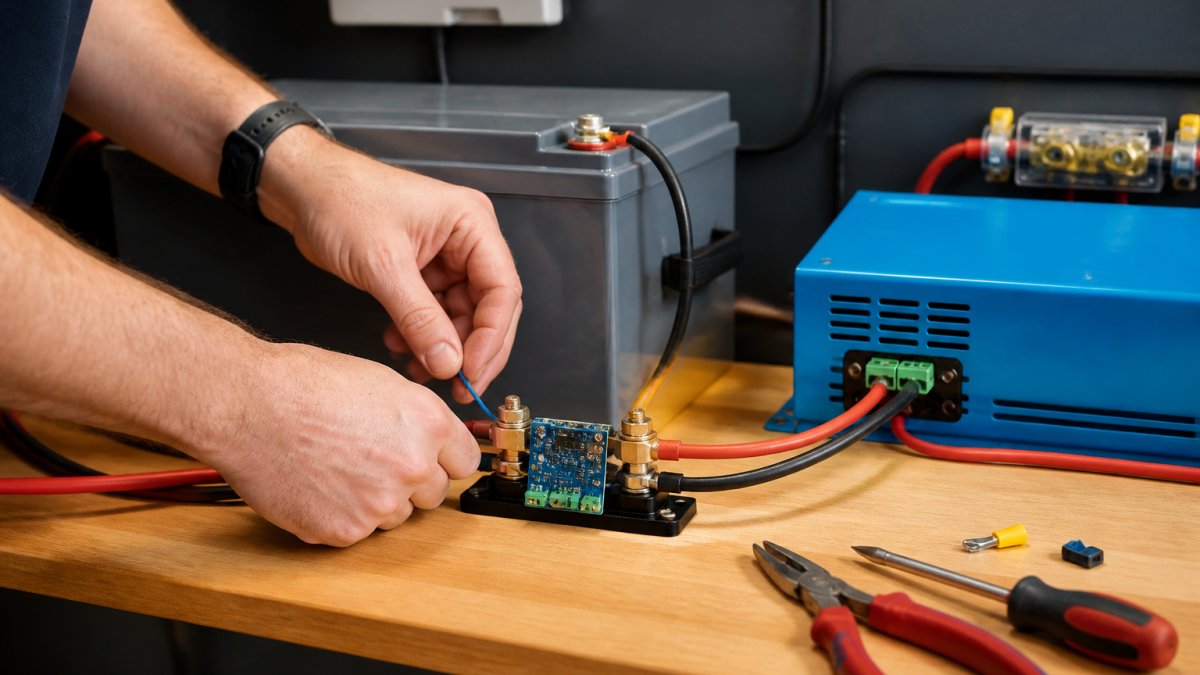
Fuses and breakers protect your system from overcurrent. When current gets too high, they trip or blow to prevent fire. A blown fuse looks burned or blackened inside.
Locate all fuses and breakers in your system.
If a fuse is blown, replace it with one of the same amperage rating. Never use a higher-rated fuse, that defeats the safety protection. If a breaker is tripped, investigate why before resetting it.
Test each switch in the OFF position and then the ON position. They should move smoothly with a solid click.
Off-Grid Solar System Troubleshooting Checklist and Maintenance Record
Use this checklist monthly to catch problems early. Preventive maintenance stops most failures before they start.
| Component | Check | Frequency | Status |
|---|---|---|---|
| Solar array | Dirt, shade, damage, loose bolts | Monthly | ☐ |
| Array wiring | Corrosion, loose connections, damage | Quarterly | ☐ |
| Charge controller | LED status, fault codes, temperature | Monthly | ☐ |
| Battery terminals | Corrosion, tightness, cleanliness | Monthly | ☐ |
| Battery voltage | DC voltage reading at rest | Weekly | ☐ |
| Inverter | Beeping, LED status, AC output | Weekly | ☐ |
| Fuses and breakers | Blown or tripped status | Monthly | ☐ |
| Main DC cables | Damage, looseness, heat | Quarterly | ☐ |
| AC outlets | Proper voltage and grounding | Quarterly | ☐ |
Keep a log of your measurements. Record battery voltage, array output, and inverter load weekly. Over time, you'll see patterns. Slowly declining voltage might indicate a battery problem developing. Seasonal changes in output are normal, but sudden drops signal trouble.
Document any repairs or replacements. Write down what failed, when it failed, and how you fixed it. This history helps you spot recurring problems and plan upgrades.
When to Stop Troubleshooting and Call for Professional Help
Some problems are beyond safe DIY repair. Electrical systems can cause serious injury or fire if handled incorrectly. Know your limits.
Stop troubleshooting and call a professional if:
- You smell burning or see smoke anywhere in the system
- You see exposed copper wire or melted insulation
- A component is very hot to the touch
- You get an electrical shock from any part of the system
- Multiple components are failing at once
- Your measurements don't match what the manual says and you can't find the problem
- A fuse or breaker trips repeatedly even after you fix the obvious issue
- You're uncomfortable working with high-voltage DC power
Victron Guy's technical support team can walk you through diagnostics over the phone, text, or email. We can also arrange in-person support if you need hands-on help.
Troubleshooting off-grid solar systems gets easier with practice. Most problems follow predictable patterns. Start with the diagnostic flowchart, measure systematically, and document your findings. When a problem stumps you, Victron Guy's expert team is ready to help.
Frequently Asked Questions
What are the most common reasons an off-grid solar system stops producing power?
The top causes are shading on panels, dirty or damaged panels, loose wiring connections, blown fuses or tripped breakers, and battery bank issues. A charge controller fault or inverter shutdown can also cut power to your AC load. Start by checking panel cleanliness and visible damage, then test voltage at key points: solar array output, charge controller input, and battery terminals. If readings are low or zero, trace the wiring for loose connections or damaged cables. Check all fuses and breakers next. Many failures stem from corroded terminals or a single blown fuse rather than component failure.
How do I know if my off-grid solar battery is faulty or just not charging?
Measure the battery voltage with a multimeter. For lithium batteries, healthy voltage is typically 48V (nominal) to 55V (fully charged). For lead-acid, expect 48V nominal to 57.6V fully charged. If voltage is below nominal and the charge controller is receiving full sunlight input but the battery voltage is not rising, the charge controller may have a fault or charging circuit issue. Check the charge controller's status lights for error codes. If the battery voltage stays flat despite good solar input and controller output, the battery bank itself may be faulty. Inspect battery terminals for corrosion or loose connections first, these are the most common culprits.
What does it mean when my off-grid inverter beeps or shuts down during use?
Beeping or shutdown usually signals low battery voltage, overload, or a fault code. Check your battery voltage immediately; if it's below the inverter's low-voltage cutoff (typically 42V for 48V systems), the inverter will shut down to protect the battery. Reduce your AC load and recharge the battery. If voltage is normal but the inverter still beeps, check the manual for specific alarm codes, different beep patterns indicate different faults. Overload trips occur when your AC demand exceeds the inverter's surge capacity. If you're running an air conditioner and kitchen appliances simultaneously, one may trigger a shutdown. Stagger high-load devices or upgrade to a larger inverter capacity.
How often should I perform off-grid solar system troubleshooting checks?
Run a full troubleshooting checklist quarterly or whenever you notice changes in power output or battery behavior. Monthly visual inspections of panels, wiring, and terminals take only a few minutes and catch problems early. Check battery voltage and state of charge weekly during heavy-use seasons. After storms, extreme weather, or extended periods of low sunlight, verify that all components are functioning and connections are tight. Keep a maintenance log with dates, voltage readings, and any faults observed. This record helps identify patterns, for example, consistently low output in winter may indicate seasonal production decline rather than a fault, while sudden drops suggest a specific component failure.