 blog
blog
Inverter Charger vs Standalone Inverter: Which Fits Your System
Table of Contents
- Inverter Charger vs Standalone Inverter: Core Differences
- Pure Sine Wave vs Modified Sine Wave Inverter Output
- How to Size an Inverter for Off-Grid Power
- Best Practices for Inverter Installation
- Inverter Charger Advantages and Limitations
- Standalone Inverter Advantages and Limitations
- Which Setup Matches Your Off-Grid System
- Frequently Asked Questions
Last Updated: September 27, 2026
Inverter Charger vs Standalone Inverter: Core Differences
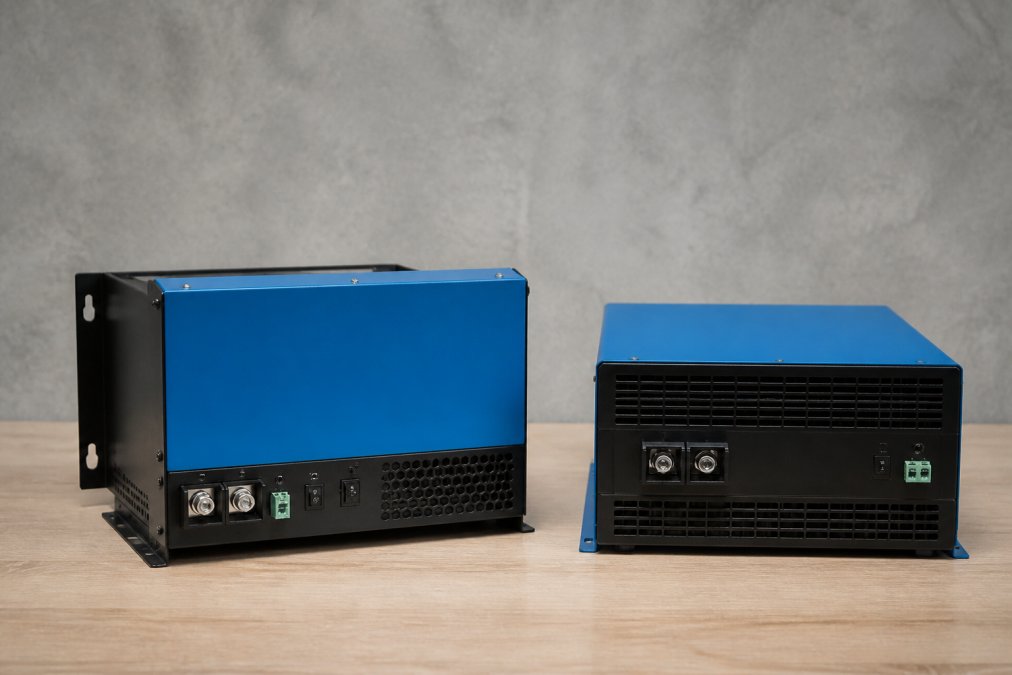
An inverter charger vs standalone inverter decision shapes your entire off-grid power architecture. The core difference is simple: an inverter charger combines DC-to-AC power conversion with AC-to-DC battery charging in one unit, while a standalone inverter handles only the conversion from battery power to AC output. This distinction affects everything from installation complexity to system redundancy.
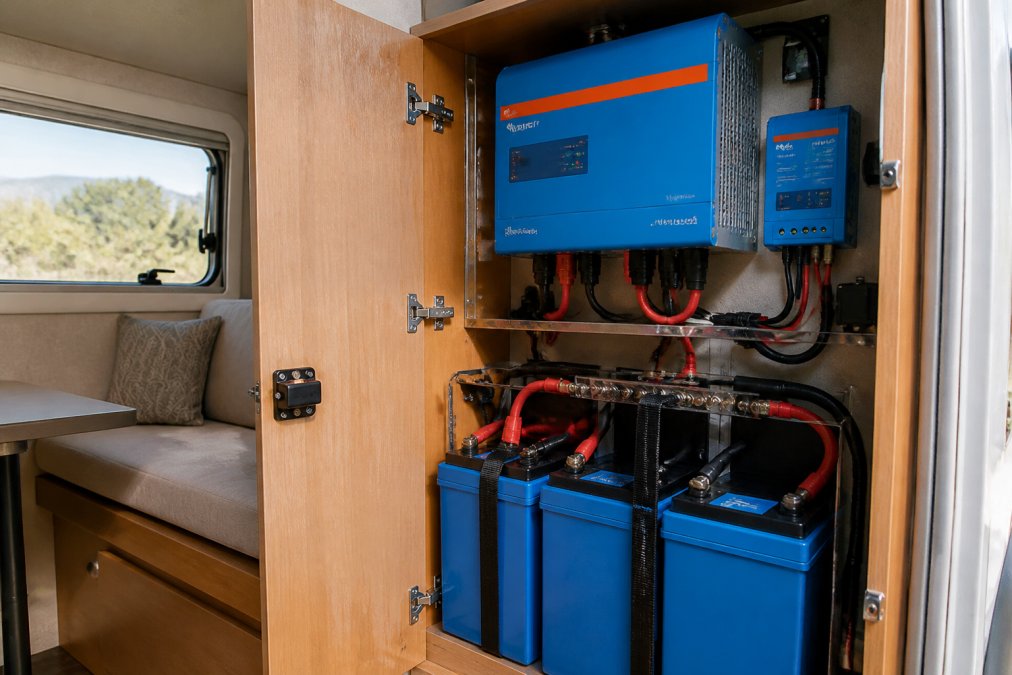
You're choosing between integration and modularity. An integrated inverter charger reduces wiring runs and installation labor. A separate inverter and charger provides redundancy, if one fails, the other still functions, and lets you size each component independently.
How Transfer Switches Handle Shore Power
A transfer switch is what makes an inverter charger genuinely useful for RVs and boats. When you're plugged into shore power or a generator, the transfer switch automatically routes AC power directly to your loads, bypassing the inverter entirely. This eliminates inefficiency losses and reduces wear on the battery bank during times when external AC is available.
The switch monitors incoming shore power voltage and frequency, instantly flipping to inverter mode if the signal drops or disappears. This millisecond transition keeps your refrigerator and electronics powered without interruption.
Standalone inverters require a separate transfer switch component, adding cost and complexity. Integrated inverter chargers handle this internally, which is why marine and RV builders favor them.
System Architecture and Redundancy
An inverter charger creates a single point of dependency, if it fails, you lose both inversion and charging capability until you replace it.
A modular setup with a standalone inverter and separate charger gives you partial functionality if one component fails. Your inverter dies? You still have charging capability from solar or an external source. Your charger fails? You can still run AC loads from your battery bank. That redundancy matters on long expeditions where replacement parts aren't available for weeks.
The tradeoff is wiring complexity: more DC cabling runs, more connection points for voltage drop, higher installation labor, and more critical thermal management.
Pure Sine Wave vs Modified Sine Wave Inverter Output
Your inverter's output waveform determines what loads it can safely power. A pure sine wave inverter generates output that matches utility power, smooth, continuous, and safe for sensitive electronics like medical equipment, variable-speed motors, and modern switching power supplies. Most modern RV appliances and marine systems expect pure sine wave input.
Modified sine wave inverters are cheaper but generate harmonic distortion. Microwave ovens, battery chargers, and laptop power supplies heat up faster and fail earlier on modified sine output; some devices won't operate reliably at all.
For off-grid living or extended travel, pure sine wave is non-negotiable. The cost difference between pure and modified sine has narrowed significantly, and the reliability difference is worth every penny when you're running sensitive equipment at distance from service centers.
How to Size an Inverter for Off-Grid Power
Sizing begins with understanding your actual load, not your theoretical maximum. Adding up every appliance wattage and multiplying by 1.5 is a starting point, not a final answer.
Peak Power vs Continuous Rating
Every inverter has two power ratings: continuous and surge. Your continuous rating is what the unit can sustain indefinitely. Surge capacity is what it can deliver for brief moments, typically 5 to 10 seconds, when motors and compressors first start up.
A refrigerator draws 600 watts running but 2,000 watts when the compressor starts. You need sufficient surge capacity to handle inrush current, even if continuous load is much lower.
Identify your actual simultaneous loads, you probably don't run the water heater, microwave, and air conditioning together. Calculate what you genuinely operate together, add 20 percent headroom for your continuous rating, then verify surge capacity against your largest motor startup.
Surge Capacity and Load Management
Surge capacity determines whether your system handles appliance startup without breaker trips. A 3,000-watt continuous inverter might deliver 8,000 watts for five seconds, enough to start a 2-horsepower compressor.
Load management means staggering major appliance use to avoid exceeding your inverter's capacity. Better inverters implement soft-start circuits that gradually ramp motor loads to reduce inrush current.
Best Practices for Inverter Installation
Installation quality directly affects system reliability and longevity. Poor installation creates voltage drop, thermal stress, and nuisance faults that waste your time troubleshooting when you should be enjoying your system.
Wiring Gauge, Voltage Drop, and Thermal Management
Wire gauge matters critically. DC wiring between battery and inverter carries high current, often 200+ amps for a 3,000-watt inverter. Undersized wire generates heat and voltage drop that reduces efficiency and can damage terminals.
Size each DC run for its specific component's maximum current, not your inverter's. Oversizing wire costs money upfront but eliminates voltage drop and heat generation.
Keep voltage drop under 2 percent between battery and inverter. At 48 volts, a 3 percent drop (1.44 volts) reduces inverter output and causes low-voltage shutdowns during heavy loads.
Ensure your inverter has adequate airflow. Leave at least 4 inches of clearance above and to the sides, and ensure air flows through ventilation slots. Inverter chargers especially need breathing room since they generate heat from both charging and inverting.
Inverter Charger Advantages and Limitations
The main advantage is simplicity: one device to configure, one set of terminals to wire, and automatic transfer switching. When plugged into shore power or a generator, the unit routes AC directly to loads, bypassing the battery and inverter. This eliminates inefficiency losses, reduces battery wear, and requires less installation labor than a modular system.
Modern inverter chargers also offer integrated smart connectivity that standalone units often lack. Most current models include mobile app monitoring, allowing you to check battery state of charge, AC input voltage, and charging current from anywhere. Some units integrate directly with battery management systems (BMS) for lithium batteries, automatically adjusting charging profile based on cell temperature and voltage balance. This real-time visibility helps you catch problems before they become critical failures.
AC input current limiting is a feature that matters more than most buyers realize. When you're plugged into shore power or a generator with limited amperage capacity, an inverter charger can automatically limit its charging current to prevent overloading the input source. For example, if you're plugged into a 30-amp shore power pedestal (typical for RVs), the inverter charger can limit charging to 25 amps, leaving headroom for AC loads. A standalone charger requires manual configuration or a separate current-limiting device, adding complexity and cost. This automatic management is especially valuable in marine environments where generator capacity is limited and overloading can trigger automatic shutdowns.
The limitation is the single point of failure. If your inverter charger develops a fault, you lose both AC output and charging capability simultaneously. You're also locked into whatever charging profile and battery chemistry support that specific unit offers. Some inverter chargers have limited configurability for different battery chemistries; if you switch from lead-acid to lithium, you might need a firmware update or a different unit entirely.
Standalone Inverter Advantages and Limitations
A standalone inverter paired with a separate charger gives you flexibility that integrated units can't match. You can choose the best inverter for your loads and the best charger for your solar array or generator independently. If your needs change, you can upgrade one component without replacing the entire system.
Which Setup Matches Your Off-Grid System
Your choice depends on what you're prioritizing: space efficiency, redundancy, modularity, or cost.
Frequently Asked Questions
What is the primary difference between an inverter charger and a standalone inverter?
An inverter charger combines two functions: it inverts DC power from your battery bank to AC power for appliances, and it charges your batteries from shore power or a generator. A standalone inverter only converts DC to AC, you need a separate battery charger if you want to recharge from shore power. The inverter charger eliminates the need for two devices and simplifies transfer switch logic, making it ideal for RVs and boats that regularly connect to external power sources.
Are inverter chargers more efficient than using separate components?
Inverter chargers typically offer similar or slightly better overall efficiency because they eliminate one power conversion step and reduce wiring losses. A standalone inverter paired with a separate charger requires power to pass through two devices, each with its own conversion losses. However, the difference is often 2-5% depending on load and equipment quality. The real advantage is simplicity: fewer connections mean fewer failure points and easier troubleshooting. Efficiency gains alone rarely justify the choice, integration and space savings do.
How do I know which size inverter I need for my off-grid system?
Start by listing your largest simultaneous loads: if you run an AC unit (3,000W), microwave (1,200W), and coffee maker (1,000W) together, you need at least 5,200W continuous rating. Add 20-30% headroom for surge capacity, AC motors and compressors draw 3-5 times their running wattage at startup. For RVs and boats, 2,000-3,500W handles most appliances; off-grid homes often need 5,000-8,000W. Check your battery bank capacity: a 48V system with 200Ah usable capacity supports roughly 9,600Wh. Pair inverter size with adequate battery depth and solar charging to avoid draining batteries too quickly.
What wiring and installation mistakes should I avoid with inverters?
Use the correct gauge cable: undersized wire causes voltage drop and overheating, a 3,000W inverter at 48V needs 2/0 AWG or larger. Install a DC disconnect switch between battery and inverter for safety and maintenance. Mount the inverter in a well-ventilated location away from moisture and heat sources; thermal management prevents shutdown during peak loads. Use proper AC bypass or transfer switch to seamlessly switch between inverter and shore power without backfeeding the grid. Have a qualified electrician verify grounding, bonding, and fault protection. Many DIY installations fail because of inadequate wire sizing or missing safety disconnects, these are non-negotiable.