 listicle
Best Solar Charge Controller for Van Life
Table of Contents
- Solar Charge Controllers for Van Life: What You Need to Know
- Quick Comparison: Top Solar Charge Controllers for Vans
- MPPT vs PWM Solar Charge Controller: Which Wins for Van Life
- How to Size a Solar Charge Controller for Your Van
- Solar Charge Controller for Lithium Batteries: Safety and Compatibility
- Van Life Solar System Sizing: Matching Controller to Your Setup
- Installation and Wiring: Getting Your Controller Set Up Right
- Which Controller Should You Pick?
- Frequently Asked Questions
Last Updated: October 5, 2026
Solar Charge Controllers for Van Life: What You Need to Know
Running a mobile office, powering appliances, or keeping lithium batteries safe in a van demands more than panels and a battery bank. You need a best solar charge controller for van life that matches your system's voltage, handles your array's output, and protects expensive battery chemistry from overcharge.
The right controller bridges your solar array and battery: it prevents voltage spikes, optimizes charging efficiency, and adapts to different chemistries. Get it wrong and you face slow charging, damaged batteries, or a dead system off-grid.
Selecting a solar charge controller isn't as simple as grabbing the biggest one on the shelf. It must match your panel wattage, battery voltage, and chemistry, handle your alternator in a hybrid system, and use lithium-specific settings.
Below, we cover the core technologies, correct sizing, and how to pick the right controller for your setup.
Quick Comparison: Top Solar Charge Controllers for Vans
Quick Picks:
- Best Overall: Victron SmartSolar MPPT controllers, ideal balance of efficiency and reliability for most van builds
- Best for Lithium: Victron SmartSolar with lithium battery profiles, proven compatibility and safety
- Best Budget Option: EPEVER or Renogy MPPT 30A models, solid performance at a lower entry price
| Controller | Type | Amperage | Best For | Key Advantage |
|---|---|---|---|---|
| Victron SmartSolar MPPT 75/15 | MPPT | 15A | Small van setups, limited roof space | Compact, reliable, proven |
| Victron SmartSolar MPPT 100/30 | MPPT | 30A | Mid-size vans, 400-600W arrays | Balanced performance and price |
| Renogy Rover 30A MPPT | MPPT | 30A | Budget-conscious builders | Affordable alternative |
| Renogy Rover Li 40A MPPT | MPPT | 40A | Larger arrays, hybrid charging | Higher current capacity |
| EPEVER Tracer AN 30A MPPT | MPPT | 30A | DIY builders comparing options | Solid budget pick |
| EPEVER 40A MPPT | MPPT | 40A | 12V/24V systems, 100V PV input | Supports dual voltage |
| LiTime 30A | MPPT | 30A | Compact vans under 10 people | Newer option, growing reputation |
MPPT vs PWM Solar Charge Controller: Which Wins for Van Life
Maximum power point tracking (MPPT) controllers win for van life, extracting more power than PWM controllers, especially in low light or when array voltage exceeds battery voltage.
The practical difference: MPPT uses DC-DC conversion to optimize panel voltage before charging your battery, while PWM simply switches power on and off at battery voltage.
For van life, MPPT matters. Your panels might only see direct sun for a few hours. MPPT squeezes extra energy from those hours. You'll charge faster and get more usable power from a smaller array footprint, critical when roof space is limited.
PWM controllers are cheaper and simpler to install but waste energy as heat. Where every watt counts, MPPT's efficiency gain pays for itself in faster charging and smaller arrays.
How to Size a Solar Charge Controller for Your Van
Sizing a controller means matching four specs: battery voltage, panel wattage, array open-circuit voltage (Voc), and controller amperage.
Step 1: Know Your Battery Voltage Determine whether your system runs 12V, 24V, or 48V. Most vans use 12V or 24V.
Step 2: Calculate Your Panel Wattage Add up the nameplate watts of every panel. A common van setup uses 400-600W.
Step 3: Calculate Maximum Output Current Divide panel wattage by battery voltage, then add a safety margin.
Step 4: Check Array Voltage Against the Controller's PV Limit This is where many van builds go wrong.
Step 5: Select Controller Amperage The controller's output amperage rating must meet or exceed your maximum output current, ideally with 20% headroom.
Worked decision tree
- Under 200W, 12V bank, short cable run: 75/15 or 100/20 MPPT is sufficient.
- 200-400W, 12V bank: 100/30 MPPT.
- 400-600W, 12V bank: 100/50 or 150/35 MPPT.
- 400-600W, 24V bank: 100/30 MPPT.
- 600-800W, 12V bank: 150/70 or 100/50 with parallel wiring.
- Planning to expand later: size up one tier now. A 50A controller costs only slightly more than a 30A and saves a full replacement down the road.
Solar Charge Controller for Lithium Batteries: Safety and Compatibility
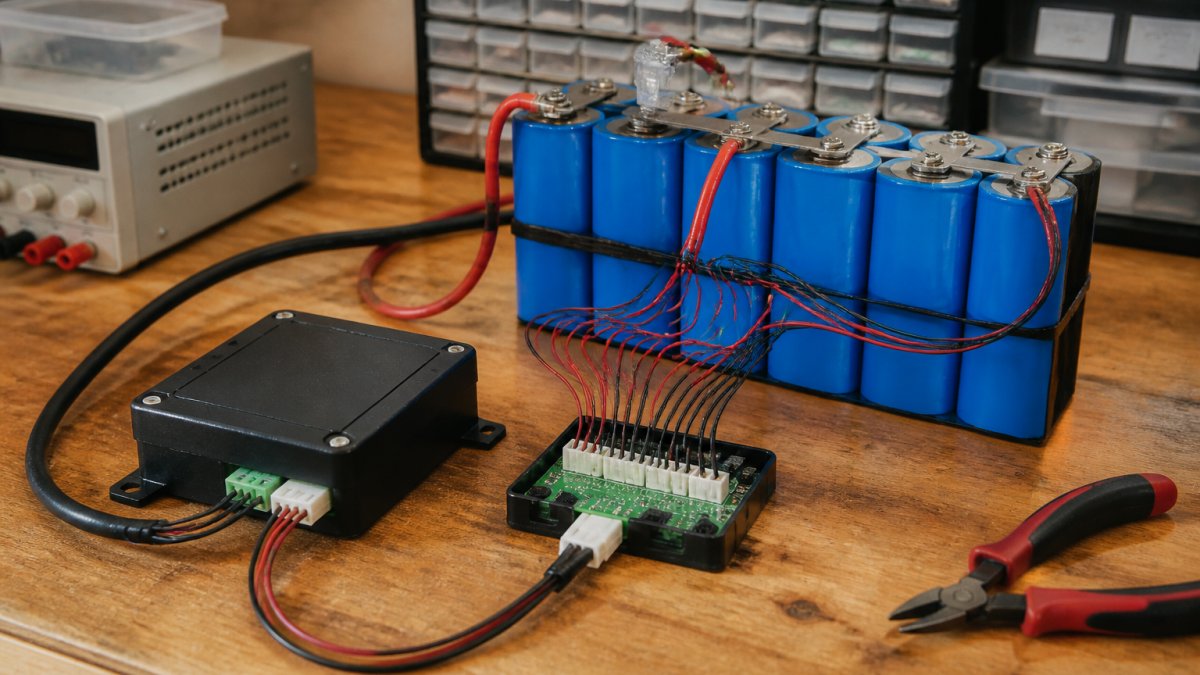
Lithium batteries demand specific charging profiles that lead-acid doesn't need. A controller set for flooded or AGM will overcharge lithium cells, shorten their life, or in the worst case trigger a thermal event; undercharging leaves capacity unused and can cause cell imbalance.
Low-temperature charging protection This is the single most important lithium safety feature for van life. LiFePO4 cells must not be charged below freezing, roughly 32°F (0°C). Charging a cold lithium pack causes lithium plating, which permanently reduces capacity and can create internal shorts. Two layers of protection matter:
- The battery's own BMS should block charging below its low-temperature cutoff. Many quality LiFePO4 batteries include this.
- The charge controller should also stop charging based on battery temperature. Victron SmartSolar controllers accept an optional temperature sensor and can be configured to disable charging below a set threshold.
If your battery lacks low-temperature cutoff and your controller cannot read battery temperature, you are relying on manual intervention, a poor plan for a van parked through a cold snap.
BMS coordination The battery management system and charge controller must agree on voltages. If the BMS cuts off charging at 14.6V but the controller absorbs at 14.8V, the BMS disconnects repeatedly, stressing both devices and confusing the controller's charge-stage logic.
Manufacturer-specific settings to verify
- Victron SmartSolar: select "Smart Lithium (LiFePO4)" in the battery preset, then fine-tune absorption and float to match your battery's datasheet. Enable temperature-compensated charging only if you have the sensor installed.
- Renogy Rover Li: has a dedicated lithium mode, but older Rover models may only offer user-defined profiles. Confirm your firmware supports LiFePO4 before buying.
- EPEVER Tracer AN: supports user-defined parameters, so you can enter the exact absorption, float, and equalization-disable settings your battery requires. Equalization must be turned off for lithium.
Charging while driving and in cold weather If you charge from the alternator through a DC-DC charger, that charger also needs a lithium profile and, ideally, low-temperature cutoff. A combined solar and DC-DC setup should share the same charge voltage targets so the battery doesn't see conflicting profiles from two sources at once; many van builds use a single controller or coordinated pair so the BMS sees one consistent charge curve.
Before you buy, confirm three things
- The controller supports LiFePO4, either through a preset or fully user-defined voltages.
- You can disable equalization and set float independently of absorption.
- You have a way to stop charging below freezing, either through the BMS, the controller, or both.
Van Life Solar System Sizing: Matching Controller to Your Setup
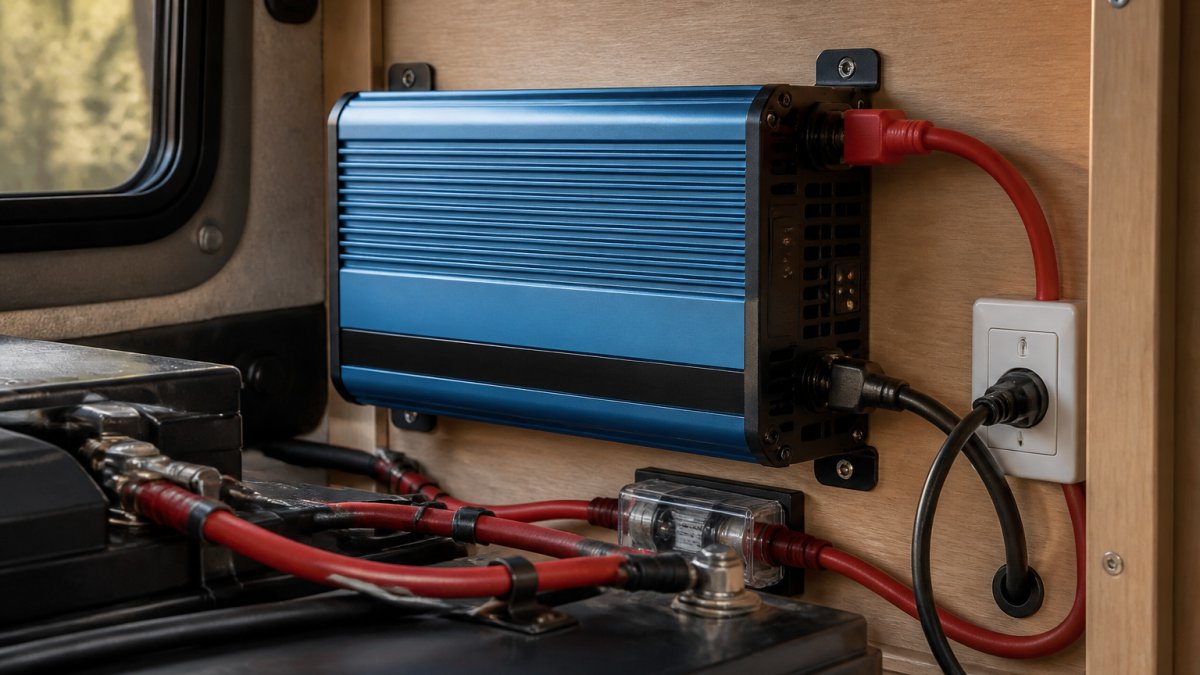
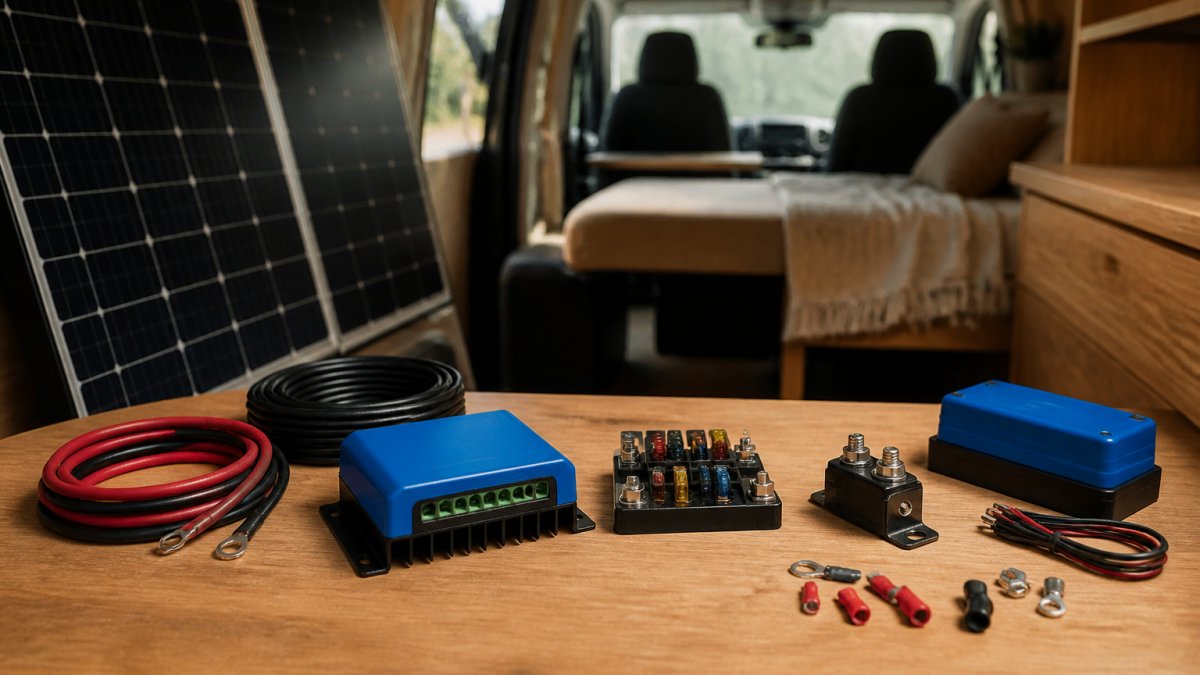
System sizing isn't just about the controller; it's the whole chain: panels, controller, battery, and inverter. A mismatch anywhere breaks the system.
Start with your daily power need in amp-hours. A typical van office uses 20-40 Ah daily; a van with AC appliances uses 60-100 Ah. This determines your battery size.
Next, determine your charging window. With 5 hours of good sun per day, your system must deliver daily consumption in that window plus a safety margin for cloudy days.
Example: 40 Ah daily consumption, 5-hour sun window = 8A charging rate minimum. Add a 50% safety margin = 12A minimum controller.
For hybrid systems (solar plus alternator), your controller must support DC-DC charging or accept both sources. Some controllers can't handle simultaneous solar and alternator input; Victron controllers with multi-input capability switch between sources cleanly and prevent backfeed damage.
Installation and Wiring: Getting Your Controller Set Up Right
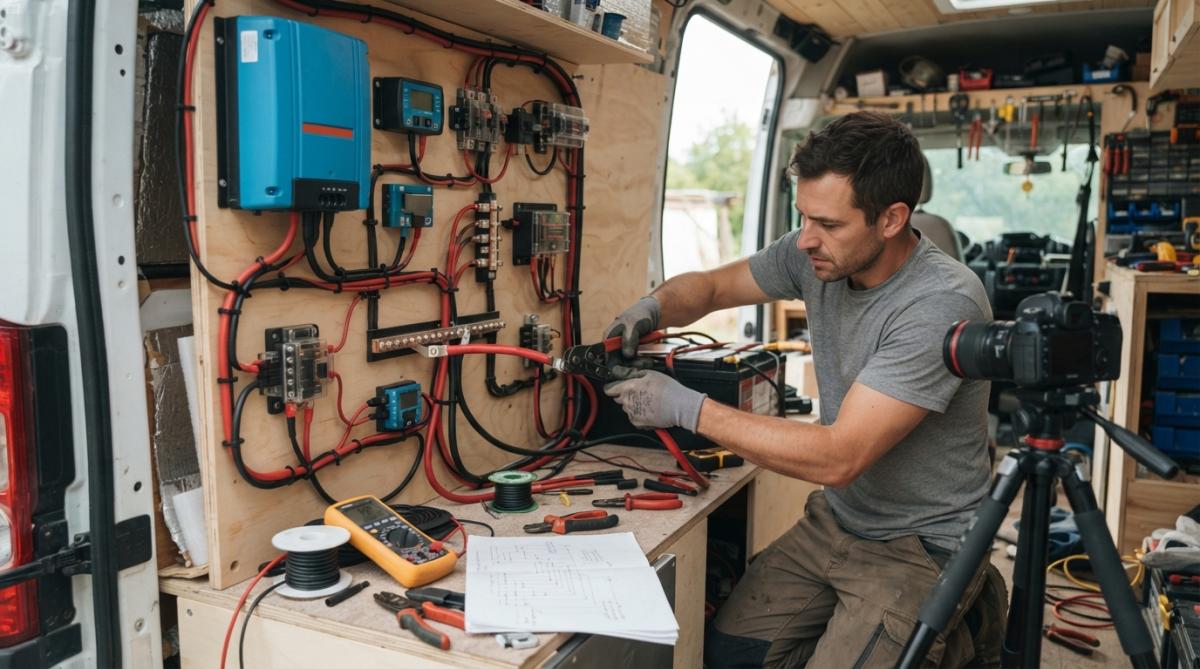
Physical installation matters as much as electrical sizing. A poorly mounted controller runs hot, fails early, and creates fire risk.
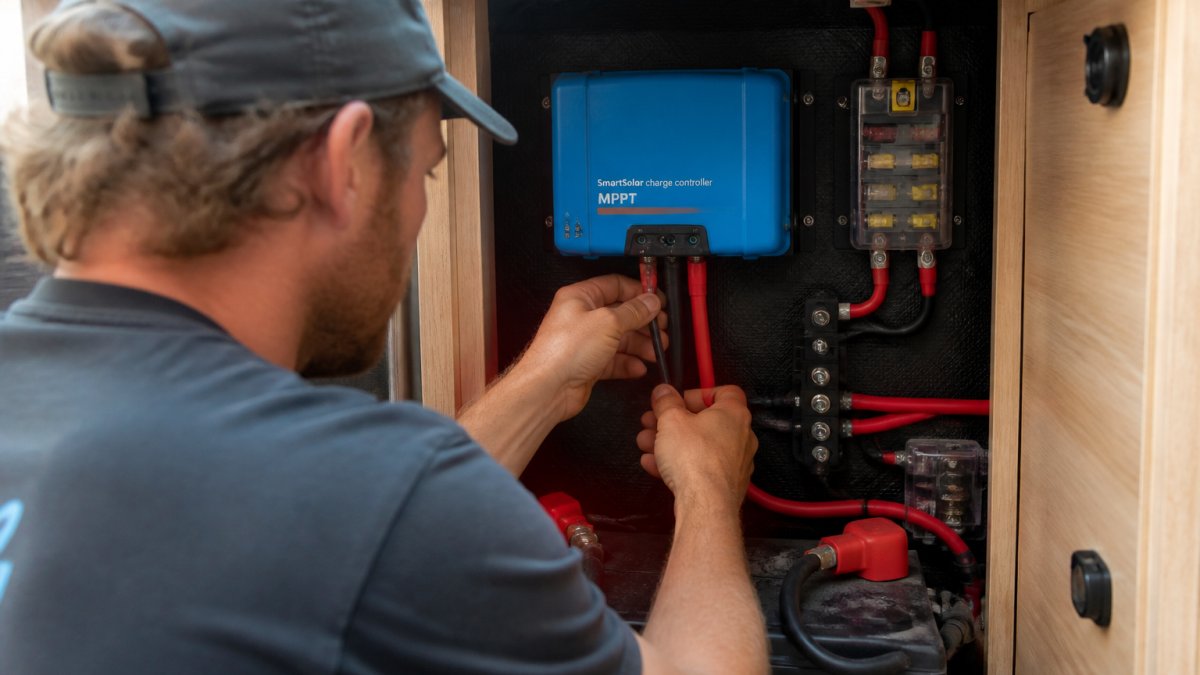
Mount your controller in a cool, ventilated location such as an electrical cabinet or battery box with airflow, away from diesel heaters or engine bays.
Wiring gauge is critical: undersized cables create voltage drop, reducing charging efficiency and generating heat. Rule of thumb: for every 10 feet of cable run, increase gauge one step.
Install a fuse between your battery and controller input to protect against short circuits and runaway current if wiring fails.
Connect your temperature sensor if the controller supports it.
Test before final installation: apply power, check voltage at the battery, and verify the controller recognizes your panels. Most controllers have LED indicators or Bluetooth monitoring showing real-time charging status.
Which Controller Should You Pick?
For most van lifers, we recommend Victron SmartSolar MPPT controllers: reliable, lithium-compatible, monitoring-friendly, and able to handle van life's temperature swings without derating.
The Victron SmartSolar MPPT 75/15 suits small vans with under 400W of panels; the 100/30 is the sweet spot for mid-size builds with 400-600W arrays.
If budget is your main concern, Renogy Rover 30A and EPEVER 30A MPPT controllers deliver solid performance at lower cost.
For larger arrays or hybrid charging (solar plus alternator), step up to a 40A or higher controller: the extra capacity prevents throttling and leaves room to expand.
At Victron Guy, we stock Victron SmartSolar controllers and can help you size your system correctly.
Choosing the right solar charge controller keeps your van powered reliably and protects your battery investment. Size it correctly, match it to your battery chemistry, and install it properly.
Frequently Asked Questions
What is the best solar charge controller for a campervan?
The best controller depends on your solar array size, battery voltage, and power needs. MPPT controllers like the Victron SmartSolar MPPT 100/30 offer higher efficiency and work well for most van builds with moderate to large solar arrays. PWM controllers suit smaller systems with tight budgets. Lithium battery systems require controllers with compatible charging profiles. Victron Guy's technical team can help match a controller to your specific setup via phone, text, or email.
Should I choose an MPPT or PWM charge controller for a van?
MPPT (maximum power point tracking) controllers extract 20-30% more power from your solar array than PWM (pulse-width modulation) controllers, making them ideal for van life where space and weight matter. PWM controllers are simpler, cheaper, and sufficient for small 12-volt systems with few panels. For most modern van builds with lithium batteries or multiple panels, MPPT is the better choice despite higher upfront cost.
How do I know if a solar charge controller will work with my lithium battery system?
Check that the controller supports lithium battery charging profiles, which differ from lead-acid stages. Victron controllers include lithium-specific settings and battery management system integration. Verify the controller's maximum input voltage and amperage match your panel array and battery bank voltage (12V, 24V, or 48V). Mismatched settings can damage expensive lithium batteries. Victron Guy's support team can confirm compatibility before you buy.
How much solar power do I need for van life?
Most full-time van dwellers need 400-800 watts of solar panels to charge a 100-200 amp-hour battery bank daily. Your exact needs depend on daily power consumption, cloud cover in your region, and battery chemistry. Once you know your panel wattage, size your controller to handle the short-circuit current (Isc) of your array. A properly sized controller prevents voltage drop and ensures efficient charging in all conditions.
Can I use a solar charge controller with my existing RV wiring and alternator charging system?
Yes, but you need to isolate the solar controller from the alternator to prevent charging conflicts. Many vans use a battery isolator or DC-DC charger to manage both sources. The solar controller handles panel input while the isolator lets the alternator charge when the engine runs. Victron controllers support this dual-source setup, and our team can walk you through integration during the configuration process.