 how-to
How to Wire Lithium Batteries in Your RV
Table of Contents
- Understanding Lithium Battery Basics for RV Systems
- Parallel vs Series Battery Wiring: Which Configuration You Need
- Selecting the Best Wire Gauge for Your RV Battery Bank
- Step-by-Step Wiring Installation Process
- RV Lithium Battery Converter Upgrade Essentials
- Integrating Solar and Inverter-Charger Systems
- Common Mistakes to Avoid
- Frequently Asked Questions
Last Updated: September 25, 2026
Understanding Lithium Battery Basics for RV Systems
Lithium batteries deliver more power in a smaller package, charge faster, last longer, and handle deep discharge cycles without damage. Lithium tolerates repeated deep discharges, while lead-acid degrades quickly if drained below 50%.
Parallel vs Series Battery Wiring: Which Configuration You Need
Choosing between parallel and series connections determines your voltage and amperage output and shapes your entire system design.
When to Use Parallel Connections
Parallel wiring connects positive terminals together and negative terminals together, maintaining voltage while increasing amp-hours. Two 100 amp-hour batteries in parallel give you 200 amp-hours at the same voltage. Use parallel when you need more capacity but your system voltage is already correct. Parallel connections are simpler to troubleshoot, if one battery fails, the other continues operating.
When to Use Series Connections
Series wiring connects the positive terminal of one battery to the negative terminal of the next, increasing voltage while maintaining amp-hours. Two 12V batteries in series create 24V at the same amp-hour rating. Use series when you need higher voltage for your inverter or solar charge controller. Series connections demand matched batteries to prevent uneven current flow through the BMS.
Selecting the Best Wire Gauge for Your RV Battery Bank
When you wire lithium batteries RV battery banks, gauge depends on total amperage, cable length, and acceptable voltage drop. For RV battery banks, aim for no more than 3% voltage drop between battery and load.
Typical wire gauge recommendations:
- 100 amps at 10 feet: 2 AWG cable
- 150 amps at 10 feet: 1 AWG cable
- 200 amps at 10 feet: 0 AWG cable
- 300 amps at 10 feet: 00 AWG cable
Step-by-Step Wiring Installation Process
Step 1: Plan Your Battery Bank Layout and Load Calculation
Calculate daily energy consumption by listing every appliance and hours of daily use. A typical RV drawing 150 amp-hours per day needs 300-450 amp-hours of installed capacity to cover 2-3 days without solar charging. Decide your system voltage (most RVs use 12V or 24V; larger systems benefit from 48V) and sketch your layout to minimize cable runs.
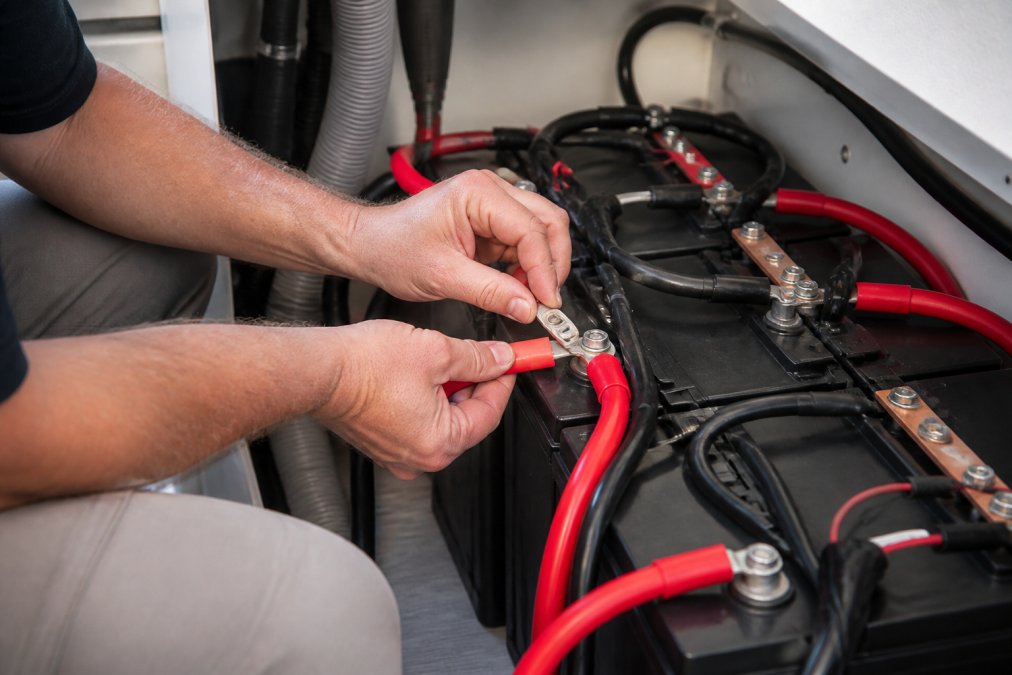
Step 2: Install Battery Monitoring and BMS Communication
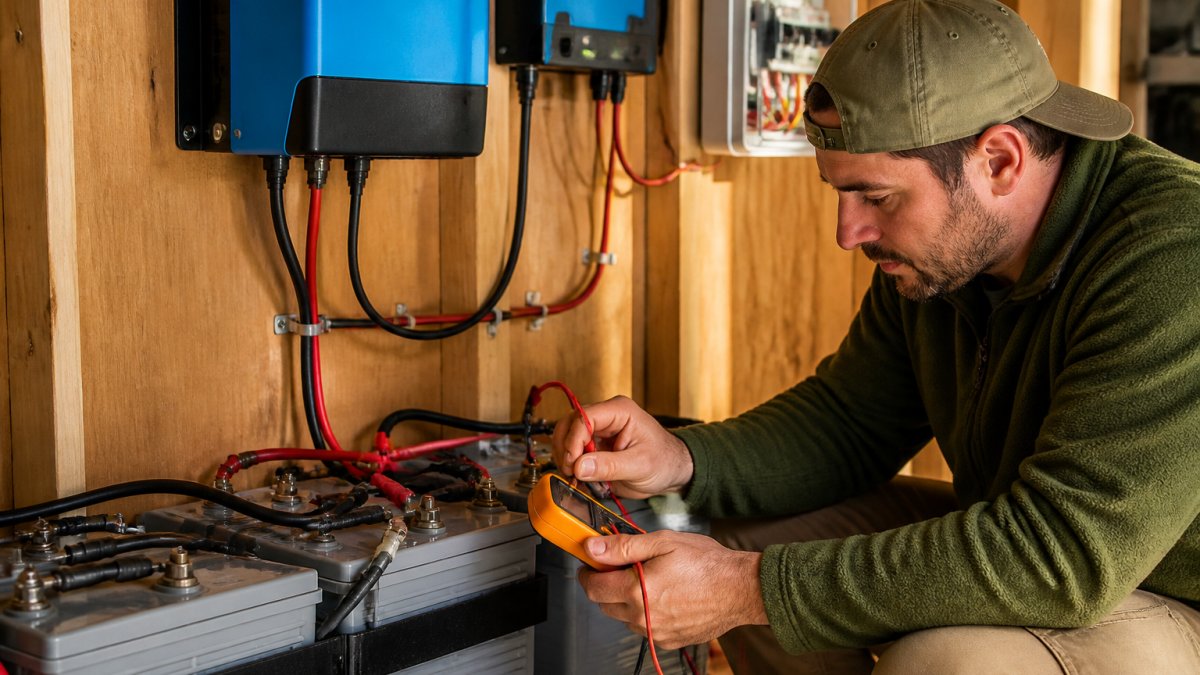
The BMS monitors cell voltage, temperature, and current flow, disconnecting the battery instantly if any cell overcharges or overheats. Install a battery monitor with a shunt to measure actual current flowing in and out. Connect the BMS to your inverter-charger using VE.Can or VE.Direct, allowing the charger to adjust current based on battery temperature and state of charge.
Step 3: Mount Batteries and Install Busbars
Secure batteries with hold-down brackets or stainless steel straps in a dry, ventilated compartment away from direct sunlight. Install the positive busbar within 18 inches of the battery positive terminal using M8 or M10 studs, tightening to manufacturer's torque specification (typically 50-80 inch-pounds). Bond the negative busbar to the RV chassis to prevent ground loops.
Step 4: Run Cables and Connect Terminals
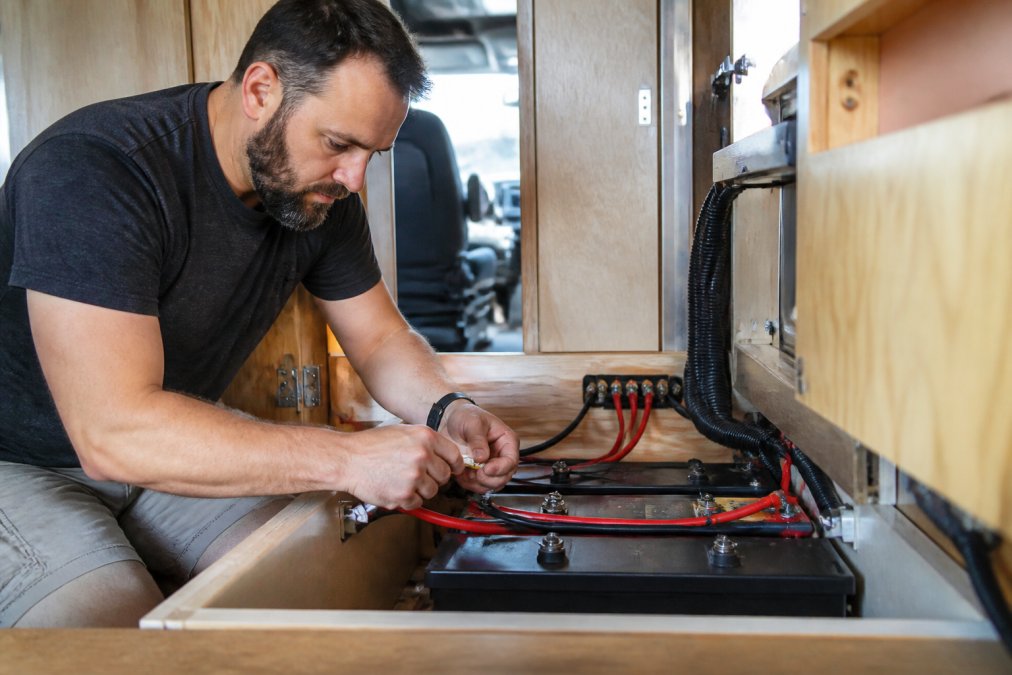
Route power cables through conduit or cable trays to protect from sharp edges. Use terminal lugs rated for your cable size, crimping them with a proper crimping tool. Connect the positive cable from battery to busbar first, then the negative cable, tightening all connections firmly.
Step 5: Install Circuit Breaker and Overcurrent Protection
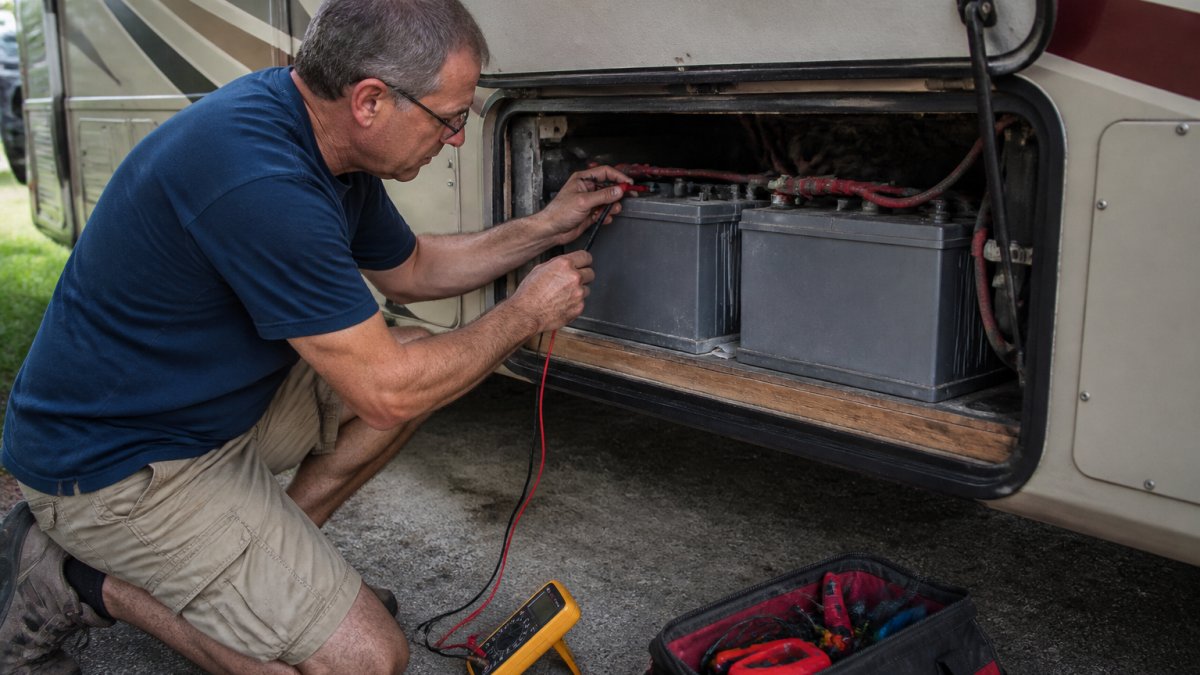
Install a DC circuit breaker between the battery positive terminal and busbar, sized to match your cable ampacity. A 200-amp cable needs a 200-amp breaker. Install a manual disconnect switch rated for DC service within arm's reach of the driver. Test the circuit breaker by briefly shorting the positive and negative terminals, it should trip instantly.
RV Lithium Battery Converter Upgrade Essentials
Many RVers retrofit to lithium without replacing the converter, only to discover charging failures or battery damage. Understanding whether your current converter works with lithium is critical before purchasing batteries.
Identifying Your Current Converter Type
Most RVs built before 2015 use a basic three-stage charger. Check the converter's output voltage specification, typically 13.6V for 12V systems or 27.2V for 24V systems. If your converter has no communication ports (no RJ45 Ethernet jack, CAN connector, or Bluetooth module), it cannot receive signals from a Battery Management System.
Why Stock Converters Fail With Lithium
Stock converters damage lithium because they hold 13.6V continuously during absorption phase. Lithium cells fully charge at 3.65V per cell (14.6V for a 12V battery); holding voltage above this threshold causes cell oxidation and capacity loss. Stock converters also lack temperature sensor input and cannot communicate with the BMS, preventing dynamic charging adjustments.
Retrofit Option 1: Reprogramming an Existing Smart Converter
Some converters built after 2012 have programmable charging profiles. Check your manual for a "lithium mode" or "custom voltage" setting. To retrofit: set absorption voltage to 13.2V (for 12V) or 26.4V (for 24V), set float voltage to 13.0V or 26.0V, reduce bulk charge current to 80% of rated output, and install a battery temperature sensor if available.
Retrofit Option 2: Full Converter Replacement
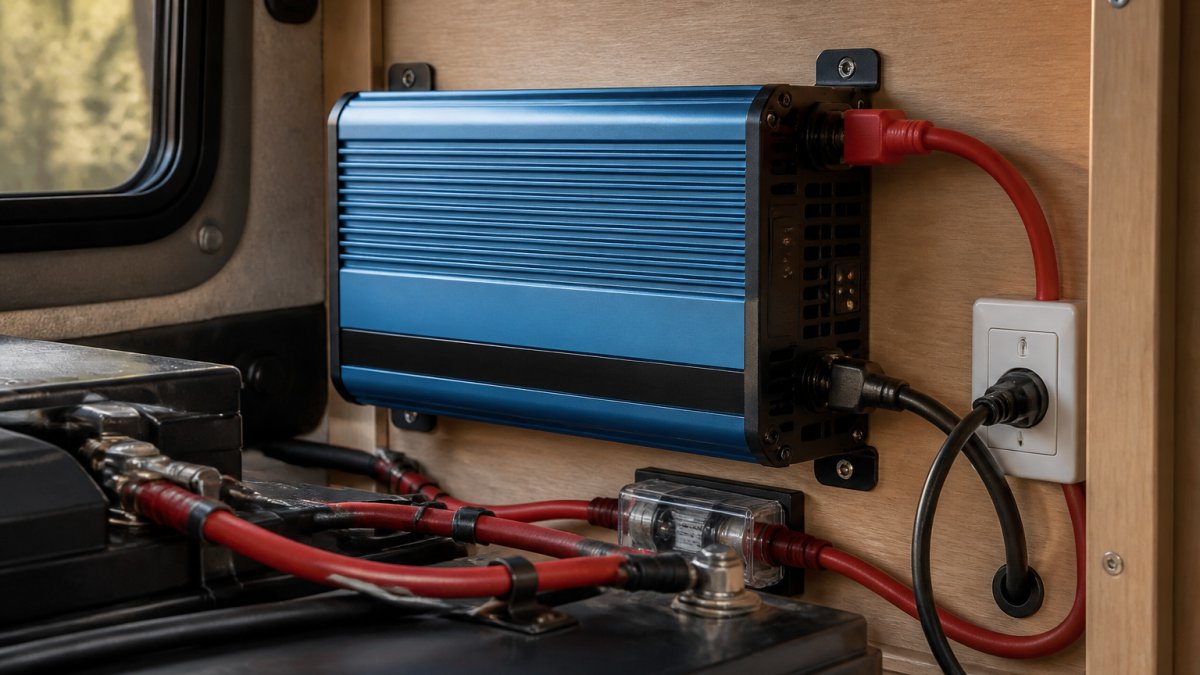
For most lithium retrofits, replacing the converter with a lithium-compatible inverter-charger is the safest approach. When selecting a replacement: choose a unit with VE.Can, VE.Direct, or CAN bus connectivity; confirm it has a dedicated lithium charging curve; size the charger for your shore power amperage; and look for dual-input capability for shore power and generator.
Integration Steps for Converter Replacement
- Disconnect shore power and battery before removing the old converter. Turn off the main battery disconnect switch.
- Remove the old converter by unbolting it from the mounting bracket. Disconnect AC input wires from the RV's main breaker panel and DC output wires from the battery terminals. Label all wires before disconnection.
- Install the new inverter-charger in the same location or nearby cabinet with adequate ventilation (4 inches clearance on all sides).
- Connect AC input from the RV's main breaker panel to the inverter-charger's AC input terminals using the same wire gauge as the old converter.
- Connect DC output from the inverter-charger to the battery positive and negative terminals using appropriately sized cable (usually 2 AWG or larger). Install a DC breaker between the inverter-charger and battery.
- Connect the BMS communication cable from your lithium battery's BMS to the inverter-charger's communication port using shielded twisted-pair cable.
- Connect a battery monitor (shunt-based) in series with the negative battery terminal for real-time state-of-charge tracking.
- Program the charger profile via the inverter-charger's display panel or mobile app. Select the lithium battery profile and set absorption voltage to 3.65V per cell and float voltage to 3.50V per cell.
- Test the system by connecting shore power and monitoring the charger's output voltage and current. Verify that BMS communication is active.
Common Retrofit Mistakes
- Forgetting to disconnect the old converter's ground wire: Some converters bond the negative output to the RV chassis. Leaving this connected creates a ground loop and electrical noise.
- Using the old converter's DC breaker with a new charger: Old breakers may not trip at the correct current. Always install a new breaker rated for the new charger's output.
- Assuming the old AC wiring is adequate: If AC input wiring is undersized, the new charger may not reach full output. Upgrade if necessary.
- Neglecting to set the charger's input voltage range: Set the range to 90-264V for maximum compatibility with weak shore power sources or generators.
Integrating Solar and Inverter-Charger Systems
An MPPT solar charge controller maximizes energy harvest by adjusting voltage and current continuously. Connect the solar array to the MPPT controller input and the controller output to the positive busbar. Your inverter-charger draws DC power from the battery and converts it to 120V AC for appliances. Size the inverter for your peak load, a 1500-watt microwave needs at least a 2000-watt inverter to handle startup surge.
Common Mistakes to Avoid
Undersizing battery cables generates heat and voltage drop. Never wire lithium and lead-acid batteries together; they charge at different rates and voltages. Always verify that BMS communication cables are properly connected before first use. Set the charger profile to lithium instead of lead-acid; wrong settings reduce charge acceptance and shorten battery lifespan.
Cold-Weather Charging: The Hidden Risk
Lithium batteries cannot accept charge below 32°F (0°C). Attempting to charge in freezing temperatures causes permanent damage within minutes through lithium plating on the anode surface. Even a single charge cycle below 32°F can reduce battery capacity by 5-10%.
Temperature thresholds for lithium operation:
- Below 32°F (0°C): Do not charge. Discharging is safe.
- 32-50°F (0-10°C): Charging possible only with low-temperature cutoff sensor; reduce current to 25-50% of normal rate.
- 50-104°F (10-40°C): Normal charging and discharging; optimal operating window.
- Above 104°F (40°C): Reduce charging current to extend lifespan. Above 122°F (50°C), stop charging entirely.
Implementing cold-weather protection:
Option 1: Battery heater with thermostat control
Option 2: Low-temperature charging cutoff sensor
Option 3: Dual-sensor system (heater + cutoff)
Charging strategy for cold climates:
- Pre-warm the battery: Turn on the battery heater 2-4 hours before plugging into shore power.
- Charge during the warmest part of the day: In winter, charge between 10 AM and 3 PM.
- Use a generator if available: Generator output is typically warmer than shore power.
- Accept slower charging: A cold battery may charge at 25-50% of normal rate.
Discharging in cold weather:
Monitoring cold-weather performance:
Frequently Asked Questions
Do I need to upgrade my RV converter for lithium batteries?
Yes, most RVs with lead-acid converters need an upgrade. Standard converters charge at fixed voltages that can damage lithium batteries and prevent them from reaching full capacity. A lithium-compatible converter or inverter-charger communicates with your battery's BMS and adjusts charging profiles automatically. This protects your investment and ensures proper state of charge across your battery bank.
Should I wire my RV lithium batteries in series or parallel?
Use parallel wiring to increase amp-hours while maintaining voltage (ideal for most RVs), or series wiring to increase voltage for specific high-power applications. Parallel connections keep all batteries at the same voltage, simplifying BMS management and load distribution. Series connections require careful voltage matching and increase complexity. Most RV setups use parallel for simplicity and reliability.
What wire gauge should I use for connecting lithium batteries?
Wire gauge depends on cable length and total amp-hour capacity. Longer runs or higher capacities require thicker cable to prevent voltage drop. Undersized cable generates heat, reduces efficiency, and risks thermal runaway. Use a voltage drop calculator or consult technical support to confirm the right AWG for your specific setup.
Can I retrofit my existing RV electrical system with lithium batteries?
Yes, but plan for converter upgrades and potential rewiring. If your RV has older wiring or a lead-acid setup, you'll need to replace the converter, install proper circuit breaker and overcurrent protection, and verify cable gauge meets lithium requirements. Retrofitting typically costs less than a full system rebuild, but compatibility issues with old chargers or grounding schemes may require professional assessment before installation begins.